Everybody loves reflections! What is it about reflections that gets people so excited? Of all the types of nature photography out there, it seems like reflections get the biggest reaction. Except maybe for star trails, but we’ve already covered those.
As with many images that connect with people, reflection images are of the variety that are not perceived as common in everyday life. As creative photographers, we’re taught to seek out images from locations, perspectives, and times of day that most folks don’t normally experience. Get that shot from two inches off the ground, or from a ladder or rooftop. Get up in the mountains where most folks can’t or won’t go, or go out when most are at dinner or are asleep. Get that point of view that most are not willing to see on their own because it’s too much trouble. But what about reflections? They’re easy enough to find if you know where to look. Why are they so popular?
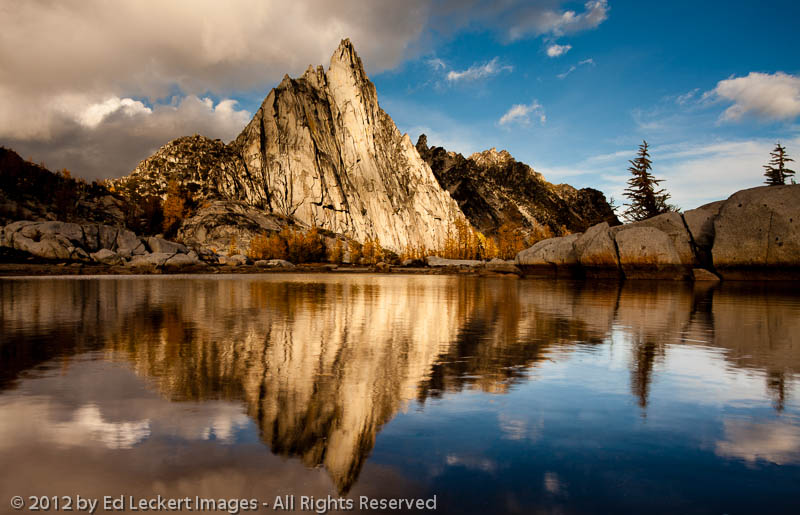 I remember watching a movie many years ago where the main characters were planning a heist involving scaling a building in broad daylight. One character was so concerned about being noticed, to which the other replied, “Don’t worry, people never look up.”. Well, I guess they never look down, either, because that’s where all the great reflections are. Of course, there’s more to it than looking down. To see some of the best reflections, you need to really crouch down as well.
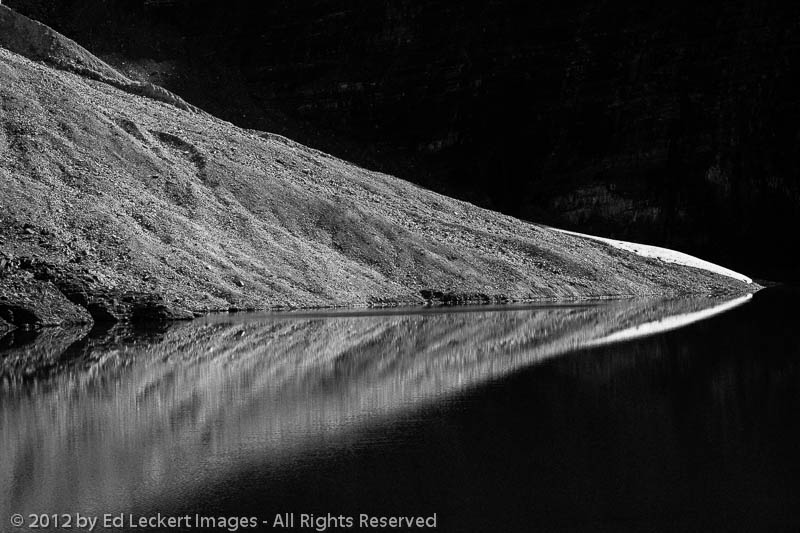 And, as with most things in life, timing is everything. If there’s any amount of wind at all, the water, the most common medium in nature for reflections, is moving too much to render a good reflection. And if you’re out in the middle of the day in the summer, the harsh light is just not going to be that attractive. But go out in the early morning or late evening, when the wind is calm, and perhaps the clouds in the sky are colored a gorgeous crimson, and get way down low, right up next to the edge of the water in front of a mountain or other beautiful scene, and magic happens!
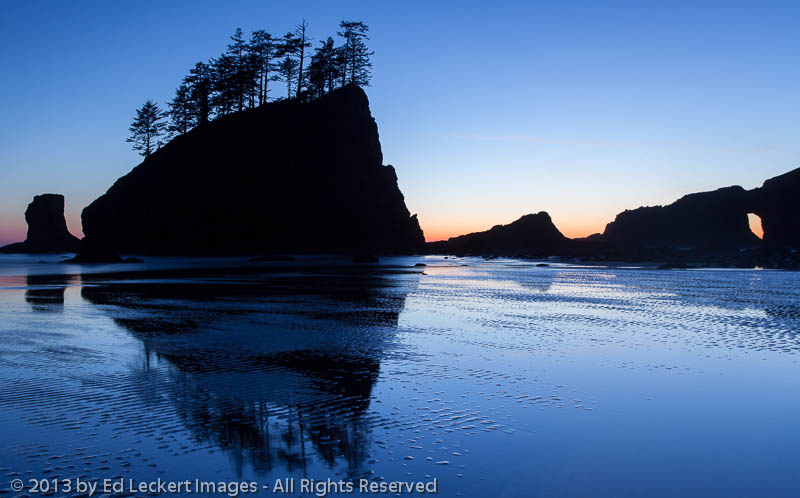 But as beautiful as the view is, photographing such scenes always involves a technical challenge. The sky will always be brighter than the reflection which will always be brighter than whatever is in the middle and in the foreground. In the film days, photographers had no choice but to use something called a graduated neutral density filter, a square piece of glass that was gray on one end with a gradual lightening to clear on the other end. You put this big chunk of glass in front of the lens with the dark half over the bright sky and the clear half over the ground, and voila, the sky and reflection would both be exposed more or less properly. Many still use this technique with digital cameras, but I find that digital sensors are so good that it is almost never necessary. I expose the image so that I capture the maximum amount of data that I can and then use post-processing tools like Adobe Lightroom to make it all look even.
So now I’m going to do something that I never do: I’m going to show you a before and after version of one of my images. Take this image of the canoe in Lake O’Hara for example.
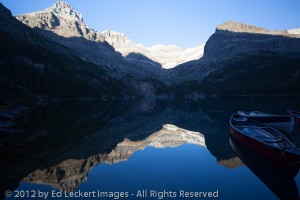
Lake O’Hara Sunset, Yoho National Park, British Columbia
So why does the image look so bad? It was really pretty when I saw it in person, I swear! It’s so bad straight out of the camera that I completely overlooked it at first. It’s worse than what the human eye would have seen. Part of that is the nature of the camera I use, which creates rather dull initial images with its default settings, and part is because as your eyes examine the different areas of the scene, the iris adjusts to the different light levels throughout. The camera sensor cannot do that – it captures the entire scene with a single exposure setting. All the camera sensor can do is gather as much data as possible, and it’s up to the photographer to make it all look good in the end.
 So what did I do to fix it, to get back what I saw and felt when I was at the original scene? I used Adobe Lightroom to darken the really bright areas and to lighten the really dark areas. That makes it sound easier than it was – it probably took me about an hour to get this image adjusted the way I wanted. The data is there in the raw image, but it needs to be coaxed out. And the technique I use is just one of many that photographers can use to balance an image that’s completely out of whack as this one was.
So reflections are cool, and they’re out there in lakes, and ponds and puddles. The next time you find yourself around water or anything reflective, stop and take a look. Bend down, try different angles, and see what you can see. There’s a whole counter universe out there waiting to be discovered!

Hi Ed
At first I didn’t realize I was looking at the same picture of the Lake O’Hare Sunset. Great explanation of what you did to enhance the final product. Well worth the effort.
-myra
Really interesting seeing the before and after. It’s almost hard to believe that all that color information was hidden there in the original photograph. Are you sure you didn’t add some color…?
Dan, I almost always boost contrast and saturation a little bit, but remember, that’s relative to the rather lifeless image produced by the default settings in Lightroom. In this image, though, what it needed most was for the extremely contrasting light levels to be balanced. The canoe is bright red, and the color is there in the raw image, but it needs to be lightened to be visible. On rare occasions I have “added” color to an image, but usually only to repair blown highlights or spectral reflections that are distracting. I had to do that on my “Overachiever” tulip image to fix a blown highlight on that tulip on the right.